Broadcasting video to a Roku channel allows you to reach a large audience, monetize your content through ads and subscriptions, and benefit from a user-friendly interface. It offers customizable content delivery, detailed viewer analytics, and cross-platform integration, making it a scalable and engaging option for content creators and businesses.
By following these steps, you should be able to set up a Roku channel and integrate a live broadcast using MediaCP Cloud Video and an HLS M3U8 link successfully. If you encounter any issues, MediaCP’s documentation and support can be valuable resources. Happy streaming!
Step 1: Set Up Your Live Channel
- Create a new Live Channel in the MediaCP Cloud Video
- Login to the MediaCP Cloud Video
- Navigate to the Live Channels page
- Create a new Live Channel
- Obtain the Direct HLS Link
- Navigate to your MediaCP Cloud Video channel.
- Select Player Code, find the Direct HLS link.
- Copy the M3U8 link for use in your Roku channel
Step 2: Build Your Roku Channel
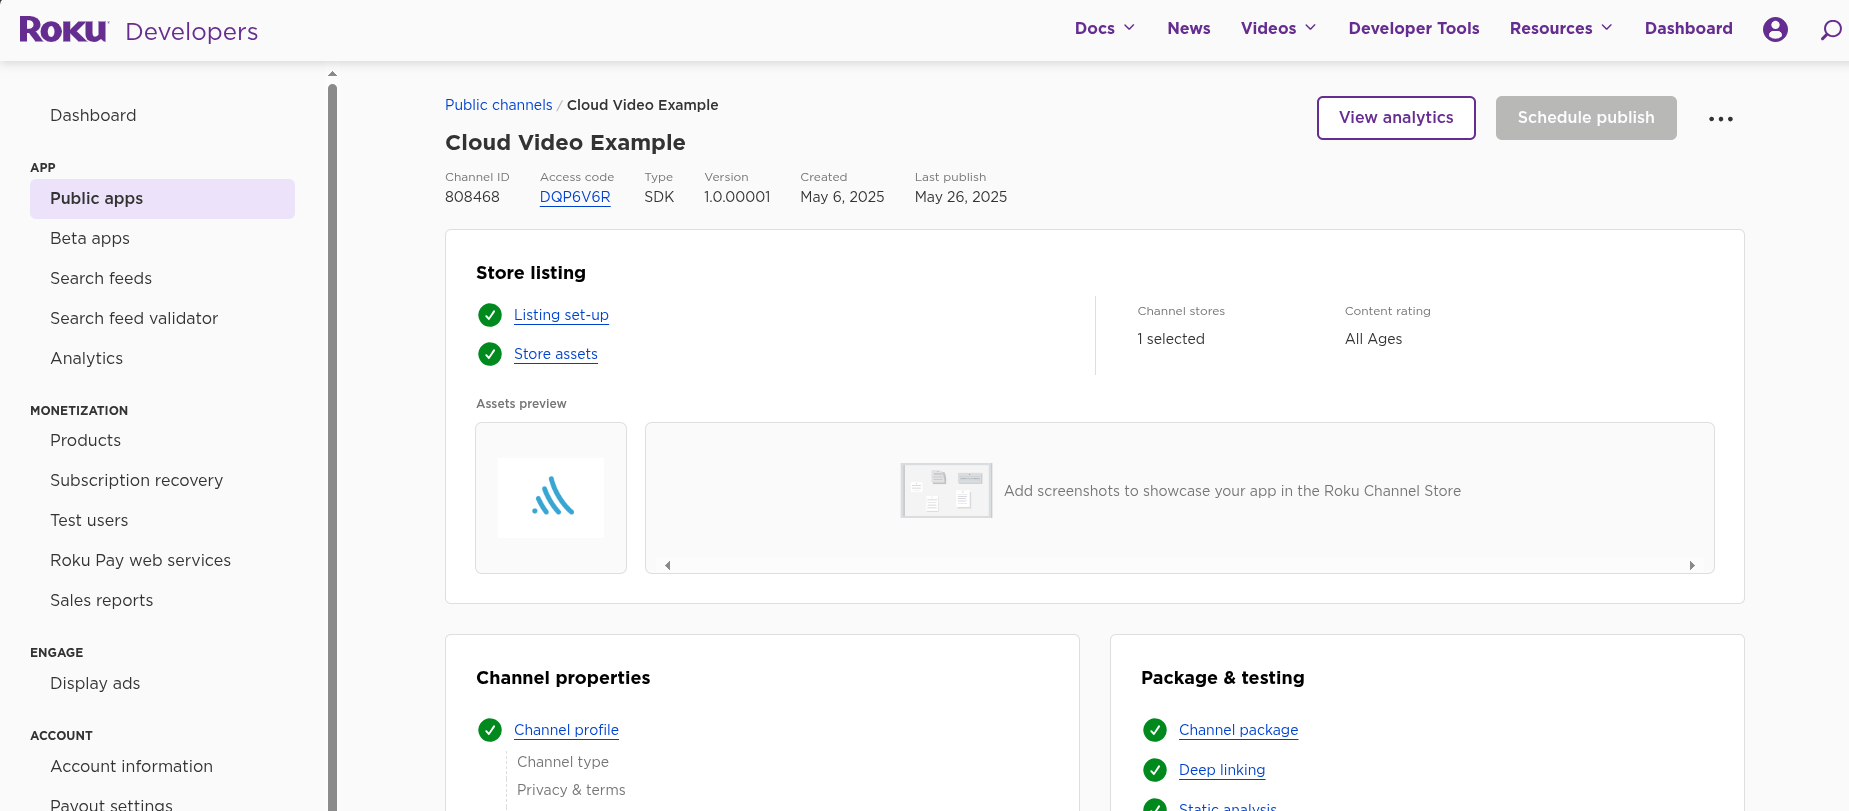
Roku has ended support for their popular and easy to setup Roku Direct Publisher channels, so the only option now is to create a custom Roku Channel App. We have made this complex process easy by creating our own sample application as a starting point. This github repository holds the example Roku app that streams an ABR broadcast from MediaCP Cloud Video: 🔗 Example Stream
Start with our pre-made roku-example app as a template, then customize it match your branding and live stream content. We have created a dedicated guide for customizing the example app, testing, packaging and submitting the channel for review. Please read through this guide for the full detailed setup:
Step 3: Start broadcasting to the Live Channel
Once your Application is published on the Roku App store it is time to go live on your channel and test the live stream. In this guide we use a basic Live Channel, but you can also choose to use a TV Channel to ensure a 24/7 live broadcast: Cloud Video TV Channnels
1. Download and install OBS Studio from obsproject.com
2. Start OBS Studio on your computer
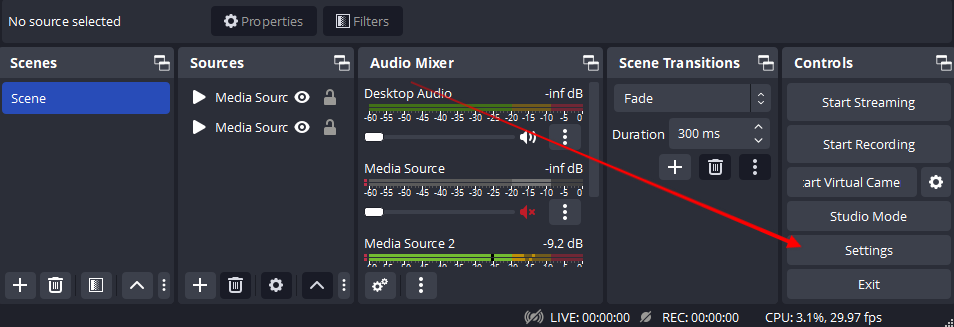
3. Select the Settings button the right of OBS
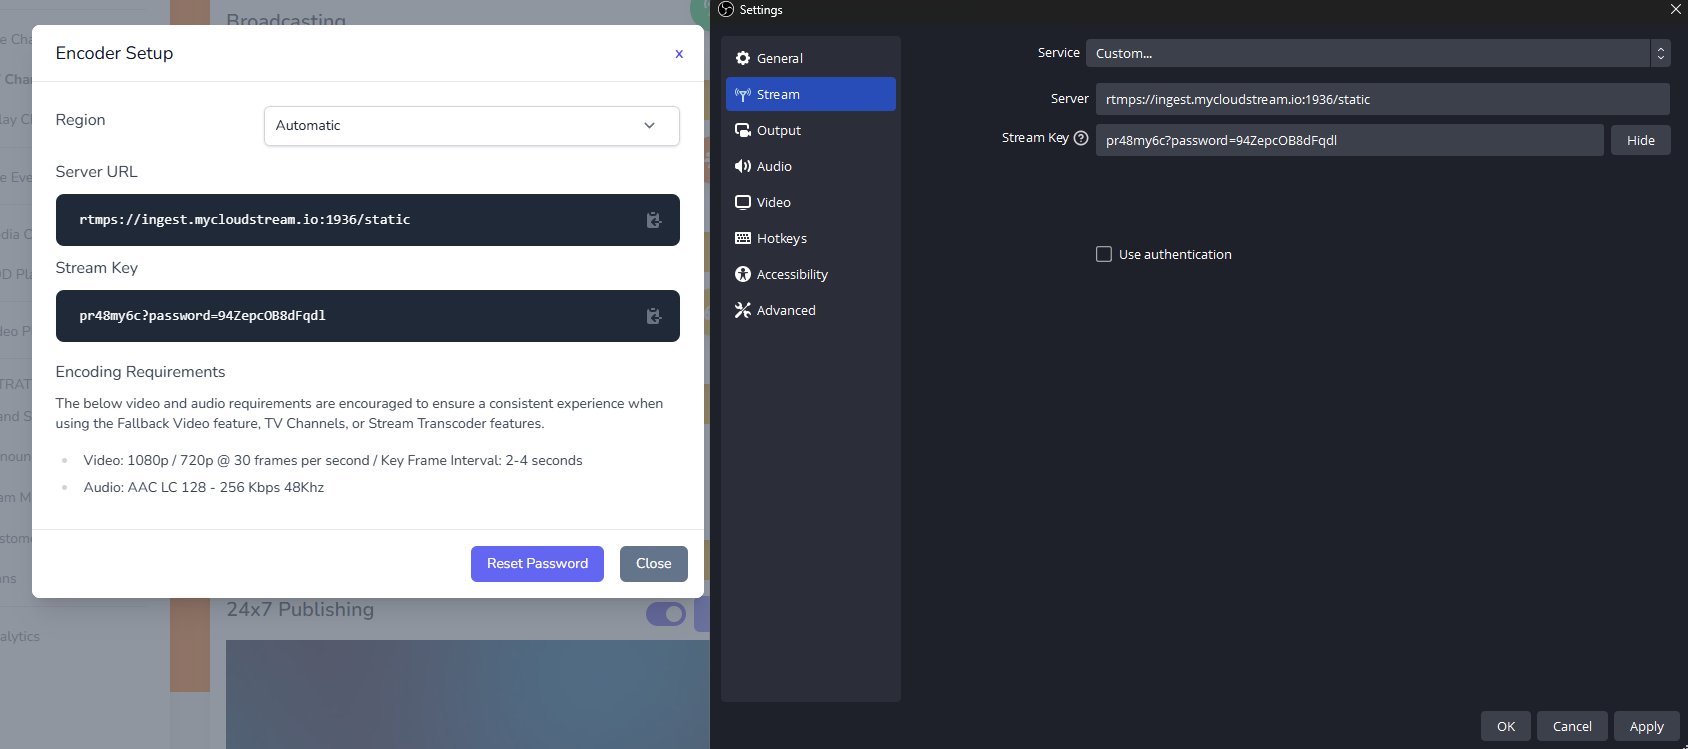
4. Select Output and set the Video Bitrate to the recommended Encoding requirements in Encoder Setup:
- Video: 1080p / 720p @ 30 frames per second / Key Frame Interval: 2-4 seconds
- Audio: AAC LC 128 – 256 Kbps 48Khz
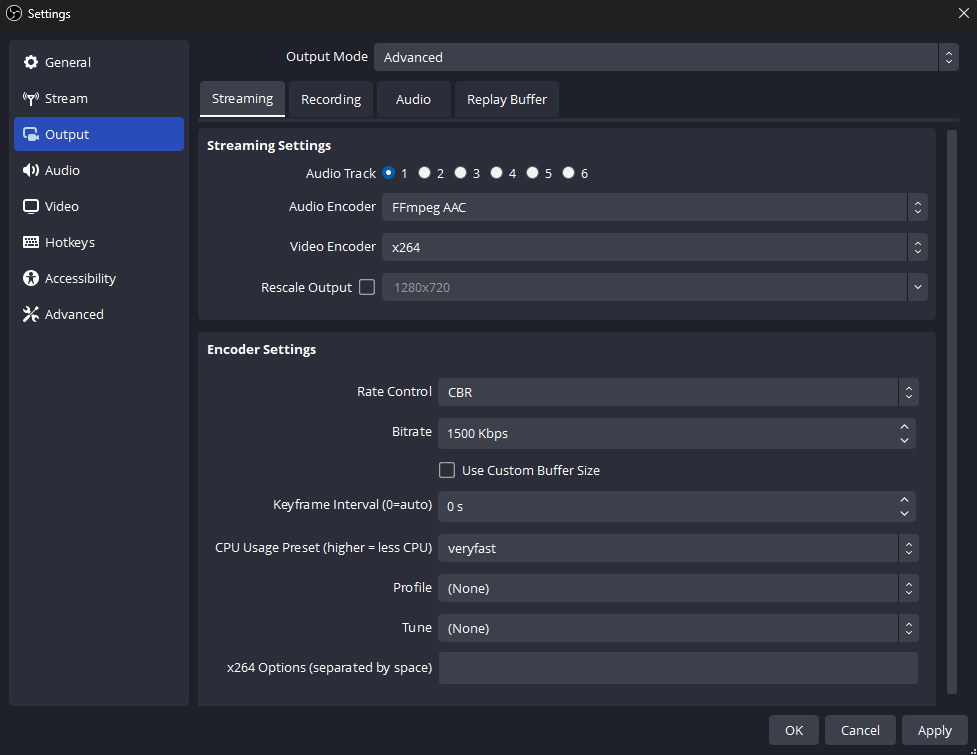
5. Select Stream
6. Set the Service to “Custom…”
7. Input the Server URL and Stream Key found in Encoder Setup
8. Select Apply and OK
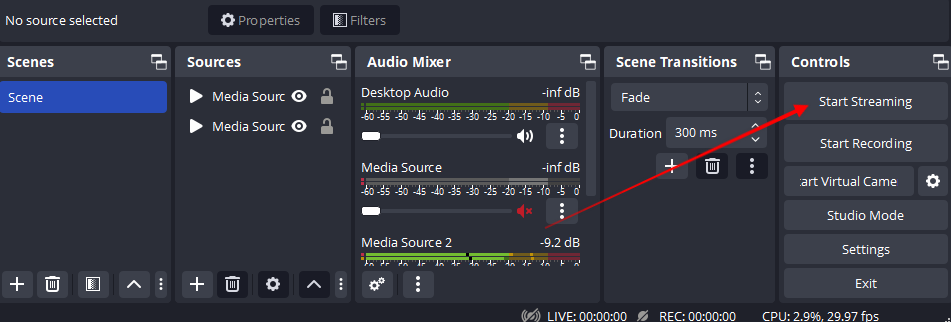
9. Click on Start Streaming to send your video to the video platform. Once connected, the video platform will shortly change to show the video player with your live broadcast.