MediaCP Manual
    1. Getting Started
    2. Sales Questions
    3. Frequently Asked Questions
    4. Transcoder System Benchmarks
    5. Start your own streaming platform
    1. Change account currency
    2. Product Licensing
    1. Introduction
    2. Installation & Upgrade
      1. System Requirements
      2. Versions & Releases
      3. Installation
      4. Upgrading
      5. Streaming Servers
        1. Nginx-Rtmp Video Server
        2. Wowza Streaming Engine
        3. Flussonic Media Server
        4. Video Feature Comparison
        5. Icecast 2 / Icecast KH
      6. SSL Certificates
    3. Billing Integration
      1. WHMCS Integration Guide
      2. Clientexec Integration Guide
      3. Blesta Integration Guide
    4. Migrate from other software
      1. Migrate from Centovacast
    5. Backup & Restoration
      1. Backup MediaCP
      2. Restore MediaCP
      3. Transfer to another server
    6. Administration
      1. Custom Web Service Configurations
      2. Reset Admin Password
      3. Port 80 / 443 Proxy
      4. MediaCP System Commands
      5. Change MediaCP domain name
      6. Move media to another hard disk
      7. Secure your server
      8. Troubleshooting Login Errors
      9. Custom Facebook App
    7. Scaling
      1. Scale with Wowza and CloudFront CDN
      2. Nginx-Rtmp with CloudFront CDN
    8. Troubleshooting
      1. Grant access to support team
      2. Troubleshooting Wowza Streaming Engine
      3. FTP Troubleshooting
      4. MySQL Database Troubleshooting
      5. Reporting Troubleshooting
      6. Troubleshooting Liquidsoap AutoDJ
      7. Video Relay Troubleshooting
    1. Introduction
    2. Administrators Dashboard
    3. System Configuration
      1. General
      2. Services
      3. Video Players
      4. Albums
      5. Email
      6. Plugins
      7. Statistics
      8. Backups
      9. Custom HTML
      10. Misc
    4. Customer Accounts
      1. Managing existing Customers
      2. Create a new Customer
      3. Deleting a Customer
      4. Login as another Customer
      5. Send email to Customer
      6. Reset Customer Password
    5. Reseller Accounts
      1. Reseller Plans
      2. Create a Reseller Account
    6. Media Services
      1. Creating a Media Service
      2. Deleting a Media Service
    7. Announcements
      1. Managing Announcements
      2. Creating Announcement
      3. Deleting Announcement
    8. Statistics
    9. Software Health
    10. Software Updates
    11. Email Templates
    12. API
    1. Introduction
    2. Audio Operation Manual
      1. Basics 101
      2. Station Overview
      3. Media Library
      4. Playlists
        1. General Rotation
        2. Jingles & Advertising
        3. Scheduling
        4. Repeat Protection
      5. Live DJ Connections
      6. Live Stream Recording
      7. DJ Manager
      8. Country Blocking
      9. Stream Proxy
      10. Widgets & Links
      11. Reporting
    3. Reseller Operations Manual
      1. Reseller Dashboard
      2. Customers
      3. Media Services
    1. API Documentation
    2. Custom Domain Names
    3. Shoutcast 2 Admin Guide
    4. Wowza and Flussonic on same system
    5. Submit a feature request
    6. Wowza Custom Properties
    1. Shoutcast 2 Live Broadcasting
    2. DJ Priorities
    3. HTML5 Audio Player
    4. Broadcasting with AutoDJ
    5. Shoutcast 2 Premium
    6. Mount Points
    1. Getting started with video streaming
    2. Live Streaming Overview
    3. TV Station Overview
    4. Ondemand Video Streaming
    5. Relay & IP Camera
    6. GeoIP Country Locking
    7. VAST Advertising
    8. Stream Recording
    9. Connecting your encoder
    10. Managing your media files
    11. Understanding Video Playlists
    12. Embedding player on your website
    13. Smooth Streaming and Content Transition
    14. Video Transcoding (Adaptive Bitrate Streaming)
    15. Image Logo or Watermark Overlay on Video Stream
    16. DVR Rewind
    17. Statistics
    18. Facebook Live Streaming
    19. Youtube Stream Publishing
    20. Twitch Stream Publishing
    21. Shoutcast 2 Stream Publishing
    22. Icecast Stream Publishing
    23. RTMP Stream Publishing
    1. Cloud Video Overview
    2. Admin Manual - Cloud Video
      1. Login to your cloud platform
      2. Dashboard - A First Look
      3. Branding your platform
      4. Team & Staff Members
      5. Plans & Customers
      6. WHMCS Billing Provisioning Module
      7. Activating VOD on Customer Plan
    3. User Manual - Cloud Video
      1. Login to your video platform
      2. First Look
      3. Creating a Channel
      4. Channel Overview
      5. Broadcasting
      6. Recording
      7. Fallback Video
      8. TV Channels - 24x7 UGC
      9. Video on Demand
      10. VOD Playlists
      11. Publishing
      12. Viewing Analytics
      13. Publish Zoom Meetings
      14. Advertising
      15. Restreaming IP Cameras
    4. Video Guide Series
    5. Streaming Best Practices
    6. Feature Comparison
    7. Roadmap & Release Notes
Branding your platform

Last updated 1 month ago

This is YOUR platform, as such it’s possible to upload your logos and setup your own custom domain name. We’ll take you through the basic steps of this.

Company Name

The Company Name appears in several locations including:

a) Web browser title bar;
b) Logo locations, side menu and login page (if no logo uploaded)
c) Emails

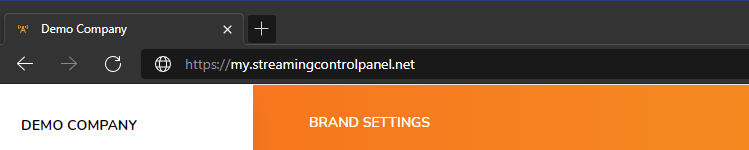
It is possible to update the Company Name from the Brand Settings page on the side menu.

Changing the Company Name does not change the default domain name displayed in your URL bar. It is not possible to change the default domain name.

  1. Click on Brand Settings
  2. Enter a new Company Name
  3. Click on Save
  4. Click on Dashboard, or refresh the page

The change will be effective immediately.

Brand Logo

The Brand Logo is displayed in several areas including Login Page, Side Menu & Email Templates.

You can upload your own image or logo to be used on the platform.

Your brand logo must be uploaded as a PNG file with exact dimensions of 250 x 60 px, otherwise the uploaded image will be rejected. We recommend the free pixlr.com/e/ to create your logo in the compatible format.

How to resize a logo for best fit

  1. Open https://pixlr.com/e/
  2. Click on Create new
  3. On the right side of the dialog, enter Width of 250 and Height of 60px
  4. Click on Layer -> Add Image as Layer, locate your image and click Open
  5. Adjust your image as required
  6. Click on File -> Save, ensure PNG is selected as File Type and press Download
  7. Return to your MediaCP Cloud platform
  8. Click on Brand Settings
  9. Click on the Browse button next to Brand Logo
  10. Find your new downloaded image and press Open
 

The image will be uploaded automatically. Once it is completed, refresh the entire page to see the changes.

Favicon

The Favicon is the icon that appears in the browser tab itself, next to the page title (your company name).

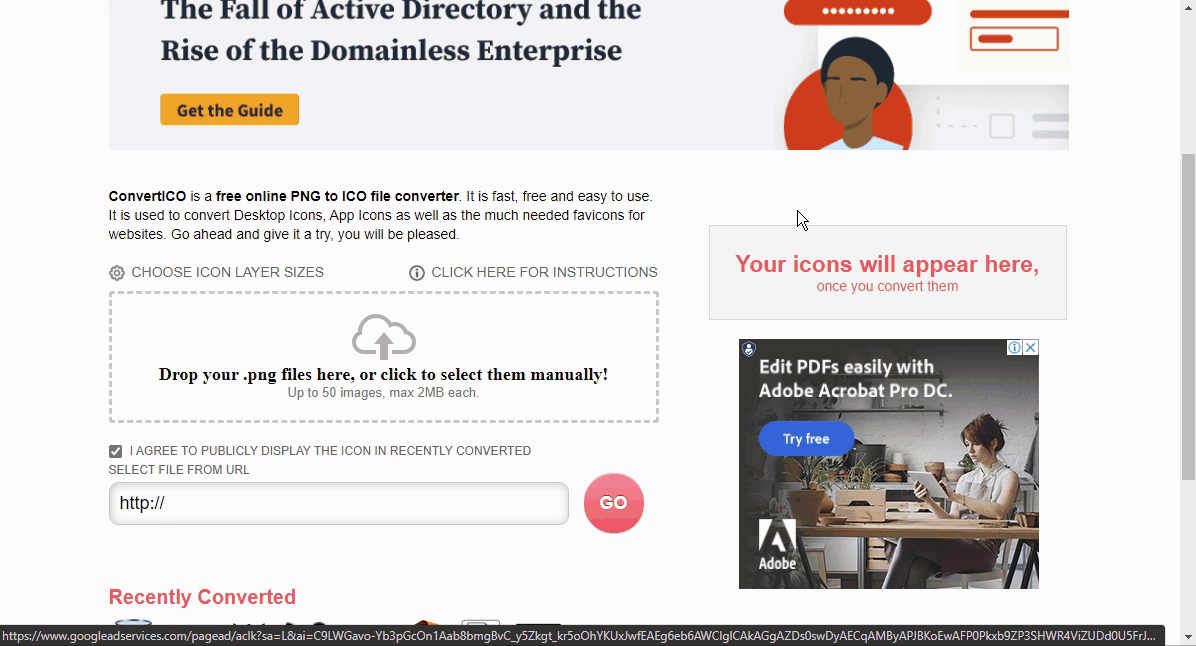
How to convert an image to a favicon

You can upload your own Favicon to the platform. The icon must be in .ICO format. We recommend convertico.com to easily convert your PNG logo to ICO.

Domain Name

You can use your own domain name with your platform to ensure your customers see your own branding. A custom domain name must be integrated and activated by our support team.

It is only possible to use a sub-domain with the cloud platform, as it is not possible to create CNAME records for the root domain. For example you can use “my.videohost.com” but you cannot use “videohost.com”.

Requirements

  • MediaCP Cloud Plus account
  • A sub-domain name such as my.videohost.com
  • Access to DNS records for your domain name (i.e., videohost.com)
  • Support from your administrator or your domain provider to implement DNS changes

How to activate a custom domain

  1. Please submit a support ticket to our helpdesk requesting to activate the sub-domain of your choice
  2. Our engineers will validate the requirements and begin implementing changes required in our systems
  3. We will advise of DNS changes that your administrator or domain registrar will need to implement
  4. Once DNS changes are made and validated, we will perform the final steps to activate the domain for immediate usage.

Table of Contents